
Kitchen Island Ideas: A Design Guide to Size, Seating and Storage for GTA Homes
How big should a kitchen island be, how much room does it need around it, and what should go inside it? A practical guide to island sizes, seating, storage, sinks, lighting and peninsulas for Toronto and GTA kitchens.
Written by the Panda Reno design and workshop team: custom cabinet makers designing, building and installing across the Greater Toronto Area.
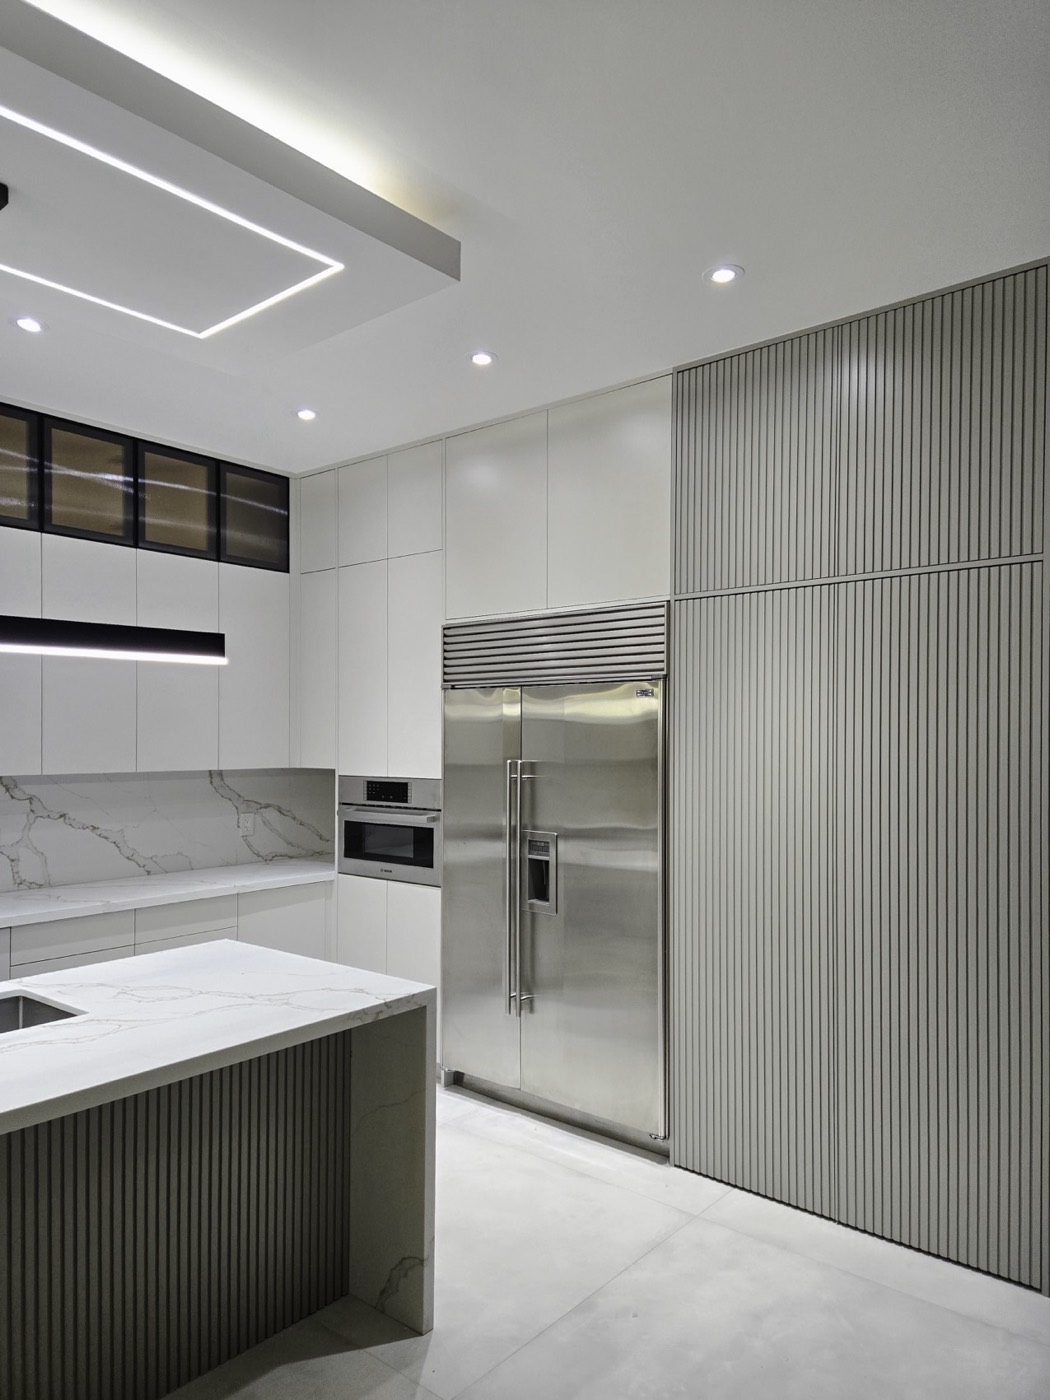
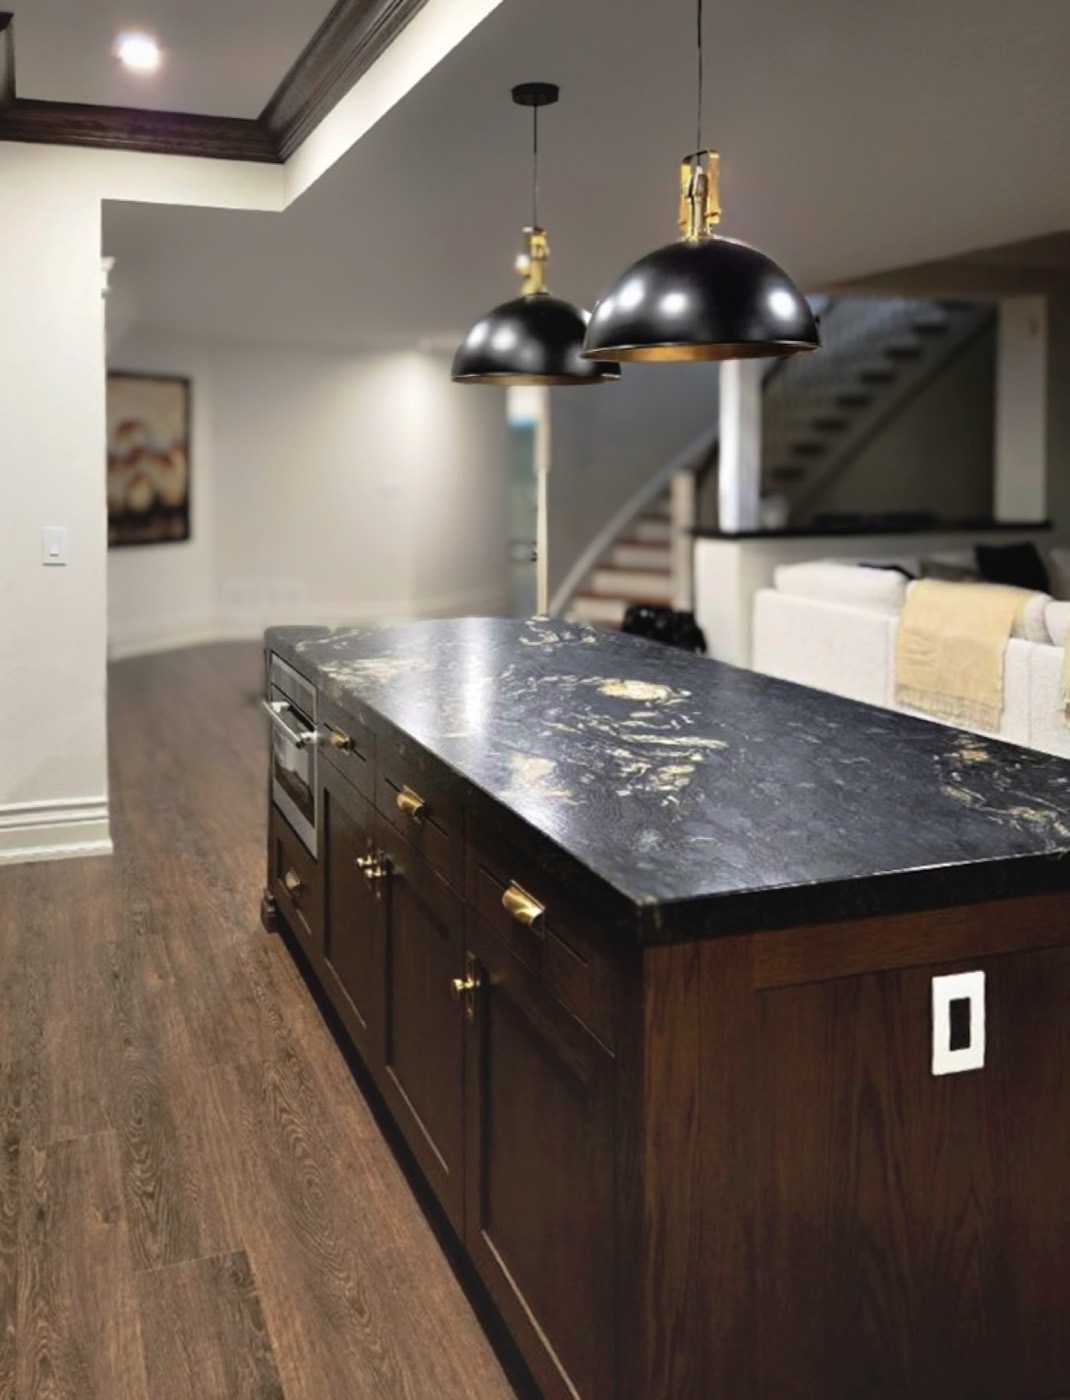
The island is usually the first thing homeowners ask us about when they plan a new kitchen, and the piece most often drawn too big. An island that crowds the aisles makes a kitchen harder to use, however good the stone looks. One that fits the room becomes where everyone preps, eats breakfast and gathers.
This guide covers the numbers we work through when designing custom kitchen islands across Toronto and the GTA: how much space an island needs, sizing for seating and storage, what changes with a sink, cooktop or power, and when a peninsula is smarter. It is one of the bigger decisions in planning a custom kitchen that lasts, so get it right on paper first.
Start with the room, not the island
Before choosing finishes, check that the room can carry an island at all. The space around it matters more than the island itself. NKBA planning guidelines suggest roughly 36 in for a walkway, about 42 in for a work aisle used by one cook, and about 48 in where two people cook at once. Measure from the edge of the countertop, not the cabinet box, and remember that dishwasher, oven and refrigerator doors swing into those aisles.
To test your room, add up the depths across it. With a perimeter counter about 25 in deep, a 42 in work aisle, a 36 in deep island and a 36 in walkway on the far side, you need roughly 139 in, or about 11.5 ft, from the back wall to the next wall or obstruction. With counters on both sides of the island and a work aisle on each side, the same island needs closer to 14 ft. If your room falls well short, read the sections on slim islands and peninsulas below.
Older Toronto houses add a wrinkle: floors are rarely level and walls rarely square, so we measure at several points and design the island to be levelled and scribed on site.
Kitchen island size and clearance guide
These are the rules of thumb we start from. Final numbers depend on your appliances, how many people cook and how traffic moves through the room.
| Element | Rule of thumb | Notes |
|---|---|---|
| Walkway around the island | About 36 in | Paths where nobody is working, such as the side facing a dining area |
| Work aisle, one cook | About 42 in | Between the island and the main sink, range or fridge wall |
| Work aisle, two cooks | About 48 in | When two people work back to back or appliance doors open into the aisle |
| Slim island depth | 24–30 in | Prep and storage; seating usually at one end, if at all |
| Working island with seating | About 36–42 in deep | Full-depth storage on one side, seating overhang on the other |
| Seating overhang at 36 in counter height | About 12–15 in | Knee space for counter stools |
| Length per stool | About 24 in | Three stools need about 6 ft; four need about 8 ft |
Planning a kitchen island with seating
Seating is why many families want an island, and where most planning mistakes happen. At standard 36 in counter height, plan an overhang of roughly 12–15 in so knees fit comfortably under the top, and allow about 24 in of length for each stool. Behind the stools, keep at least a 36 in walkway, and more if that route leads to the back door or the family room.
Deeper overhangs generally need hidden steel supports or brackets; your countertop fabricator will specify what the stone, quartz or porcelain requires. Seating layouts that work well in family kitchens:
- A straight run along one long side, the easiest on clearances
- Wrap-around seating at one end, so two people face each other for conversation
- A lower section at dining-table height (about 30 in) for children or anyone who finds counter stools awkward
- Seating facing the cooking zone, as long as stools stay out of the path between sink, fridge and range
Storage that earns its footprint
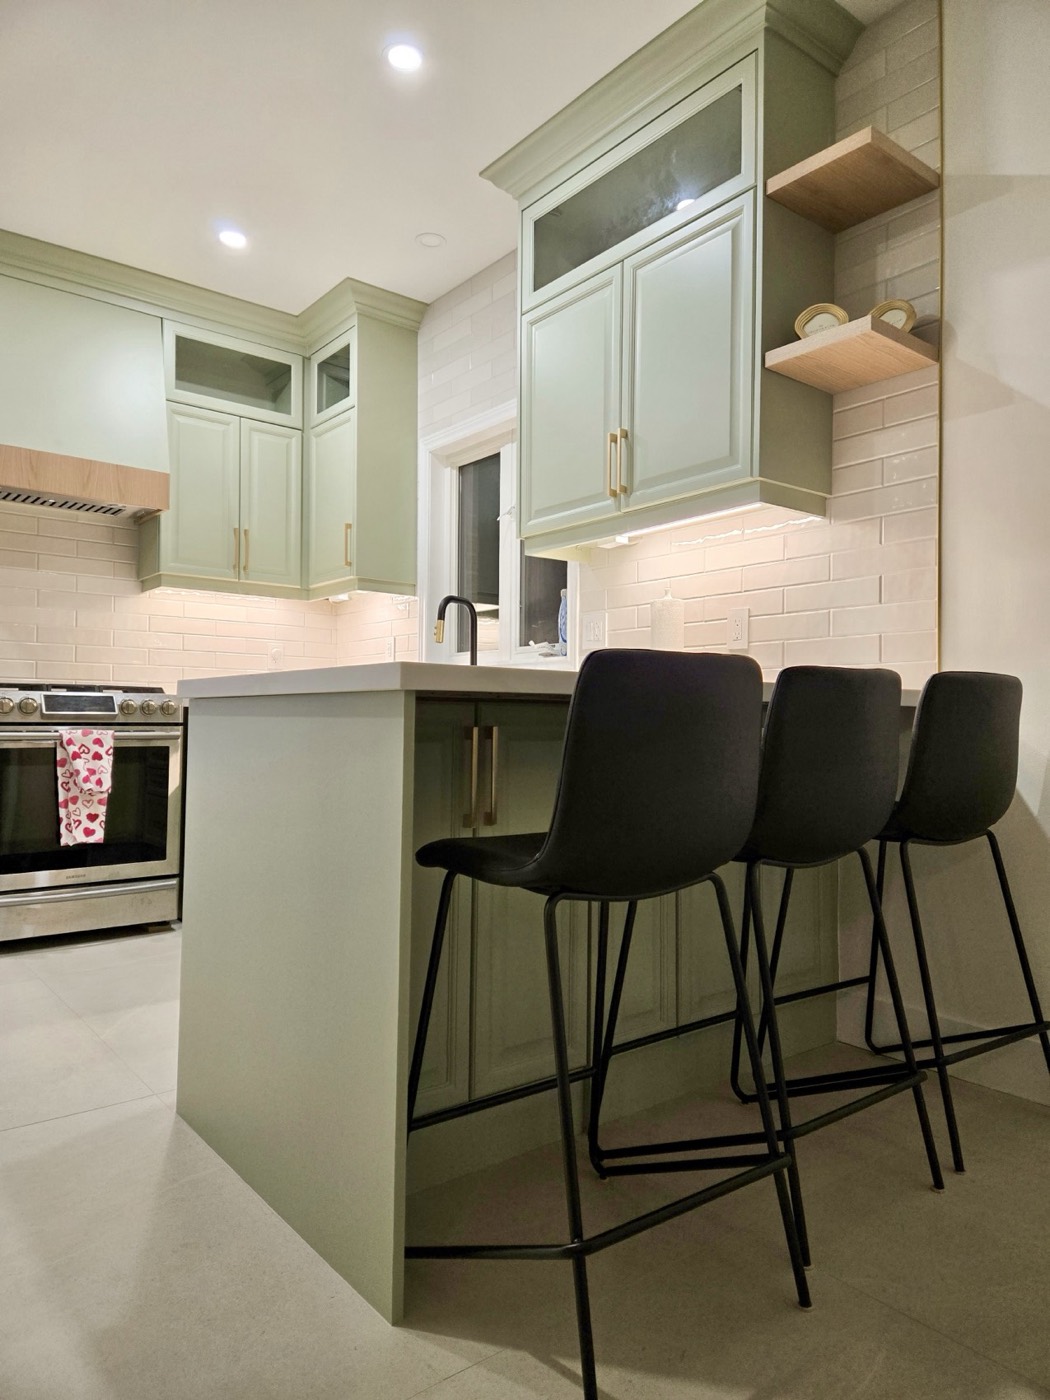
An island takes up a lot of floor, so it should work hard. The layout we draw most often is two-sided: full-depth drawers and cabinets on the working side and open seating on the other. Our Sage Green Kitchen in Markham has an island with family seating finished in the same soft sage as the perimeter and topped in quartz, so it reads as part of the kitchen. Storage ideas that earn their place:
- Wide, deep drawers for pots, pans and lids on the side facing the cooktop
- Trash, recycling and compost pull-outs beside the sink or prep area
- A dishwasher next to the island sink, with dish drawers within arm's reach
- Shallow shelves on the end panels for cookbooks or spices
- A microwave drawer, beverage fridge or wine storage, each needing power planned in advance
- A charging drawer so cables stay off the counter
Sinks and cooktops in the island
An island sink lets you face the room while you prep and frees the perimeter for a long run of counter. The catch is plumbing: with no wall behind it, the drain and vent have to be routed through the floor, and venting works differently from a wall sink. Above an accessible basement ceiling this is usually manageable; over a finished ceiling, a slab or in a condo it can be complicated or impossible, so your licensed plumber should confirm the route before the layout is settled. The navy island with a farmhouse sink in our Signature Painted Kitchens collection shows the layout when plumbing allows.
An island cooktop needs a ventilation plan from day one. The usual options are a ceiling-mounted island hood, which needs a duct path through the ceiling, or a downdraft system built into the island, which uses cabinet space below. A gas cooktop also needs a gas line run to the island by a licensed gas technician; in Ontario, fuel safety is overseen by the TSSA. We avoid seating directly across from burners and leave clear counter on both sides for hot pans.
Power and lighting: plan them before the cabinets
Every island needs electrical planning. Electrical rules for kitchen counters can apply to islands too, and most families want somewhere to plug in a mixer or laptop. Power reaches an island through the floor, so cabling or conduit must be in place before flooring goes down and before the island is built. Your licensed electrician will confirm the number and location of outlets, and electrical work in Ontario goes through the Electrical Safety Authority (ESA), usually filed by your electrician.
Lighting and outlets need the same early attention, because ceiling boxes and cut-outs must line up with an island that does not exist yet:
- Pendants centred on the final island position, hung to light the counter without blocking sightlines
- Recessed or linear ceiling lighting for even working light
- LED strips under a seating overhang or in the toe-kick for soft evening light
- Outlets in end panels or the cabinet face, out of sight and away from spills
Waterfall, furniture-style and statement islands
Sitting mid-room, the island is usually where a kitchen makes its strongest design statement. The approaches we are asked about most:
- Waterfall island: the top continues down one or both ends to the floor with mitred joints. It looks sculptural, but needs precise cabinet dimensions and is templated after installation.
- Furniture-style island: legs or posts and a contrasting finish so it reads like a freestanding piece, suited to traditional and transitional kitchens.
- Contrast island: a different colour or wood from the perimeter, such as painted cabinets with a wood island.
- Matching island: the same finish throughout for a calm, unified room.
- Textured base: fluted, reeded or slatted panels on the side seen from the living area.
Project examples worth borrowing from
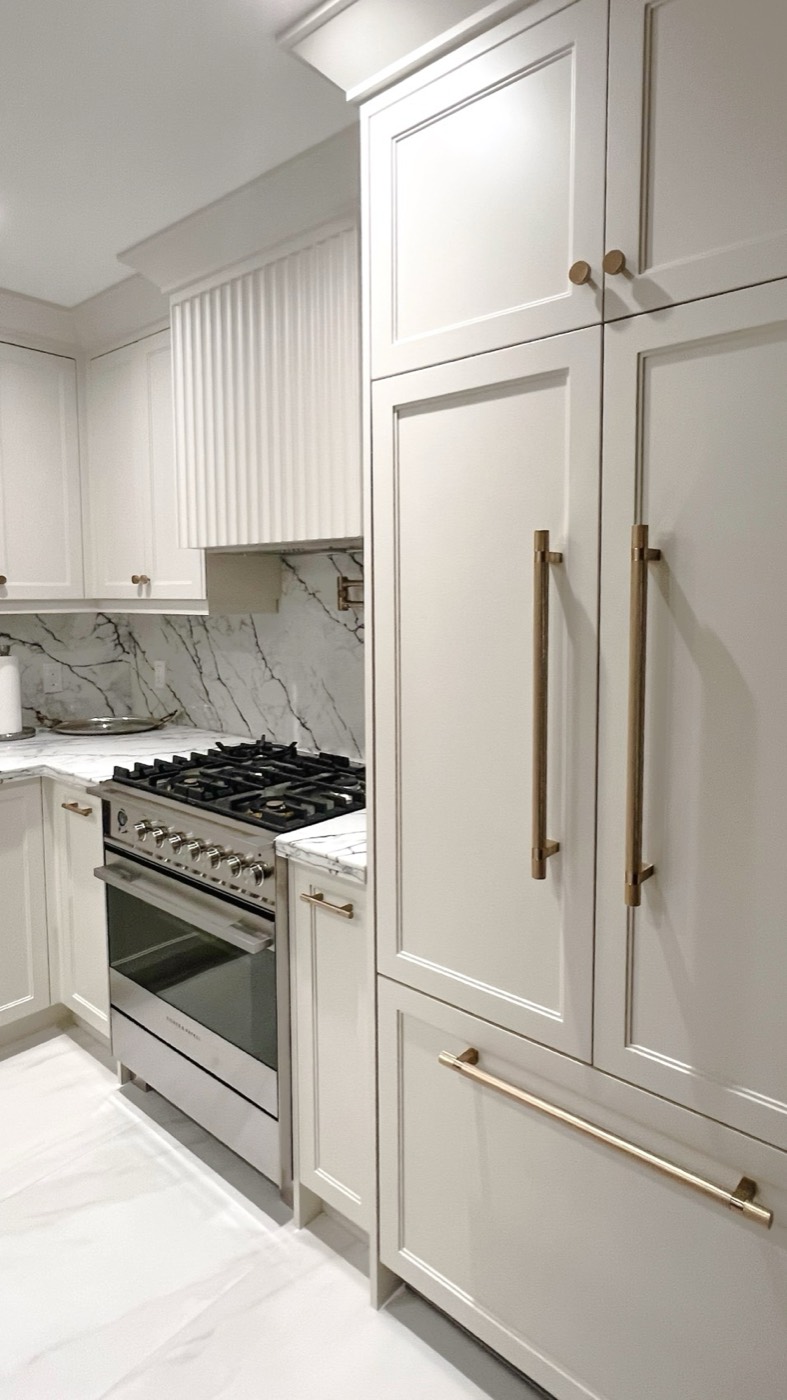
Our Contemporary Calacatta Kitchen in Vaughan combines two of those ideas: a full waterfall island in book-matched Calacatta-look porcelain over a fluted base, with handle-less push-to-open fronts keeping the lines clean.
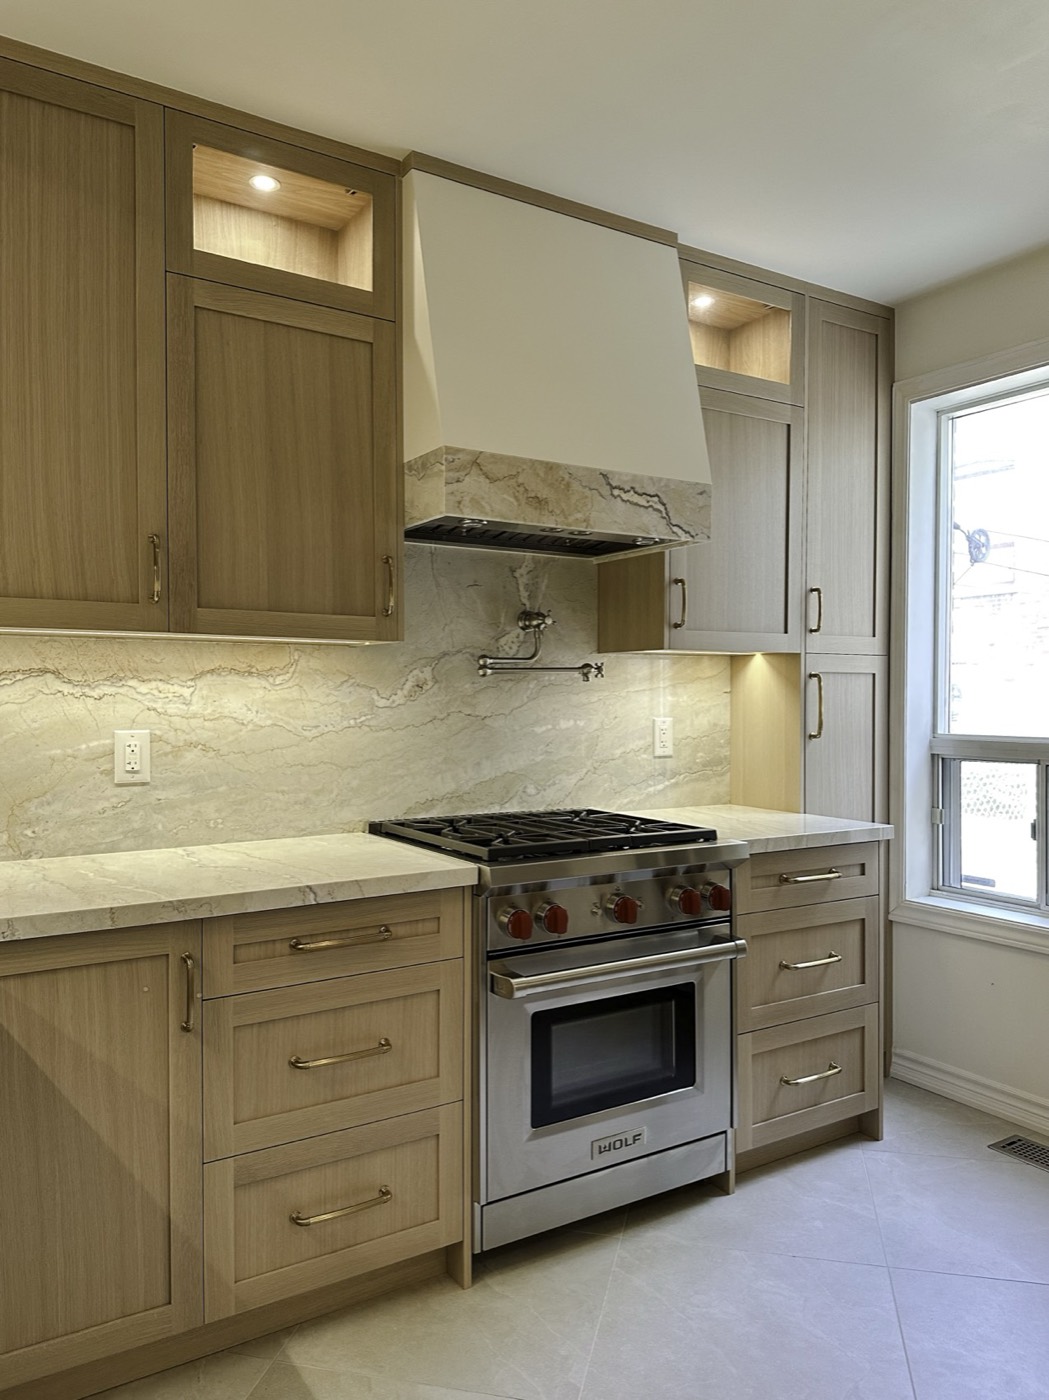
For a wood island, grain continuity separates custom from catalogue. In our Rift White Oak Kitchen in Toronto, rift-cut grain runs continuously across the doors and drawer fronts; the same approach works on an island base. Door profile matters too, and our cabinet door styles guide compares the options.
Islands in small kitchens and condos
Not every kitchen has 11 ft to spare. In smaller kitchens and many Toronto condos, a slim island 24–30 in deep can add prep space and storage without choking the aisles. At that depth, seating usually moves to one end, or the island stays a working piece with deep drawers and a trash pull-out.
Condos bring their own limits. Moving a sink into an island usually means work in or through the concrete slab, which many buildings do not allow, so condo islands are typically storage and prep. Buildings also set working hours, require elevator bookings and limit what fits in the elevator, so check the rules with management early. Our small condo kitchen guide has more ideas for tight footprints.
When a peninsula is the better answer
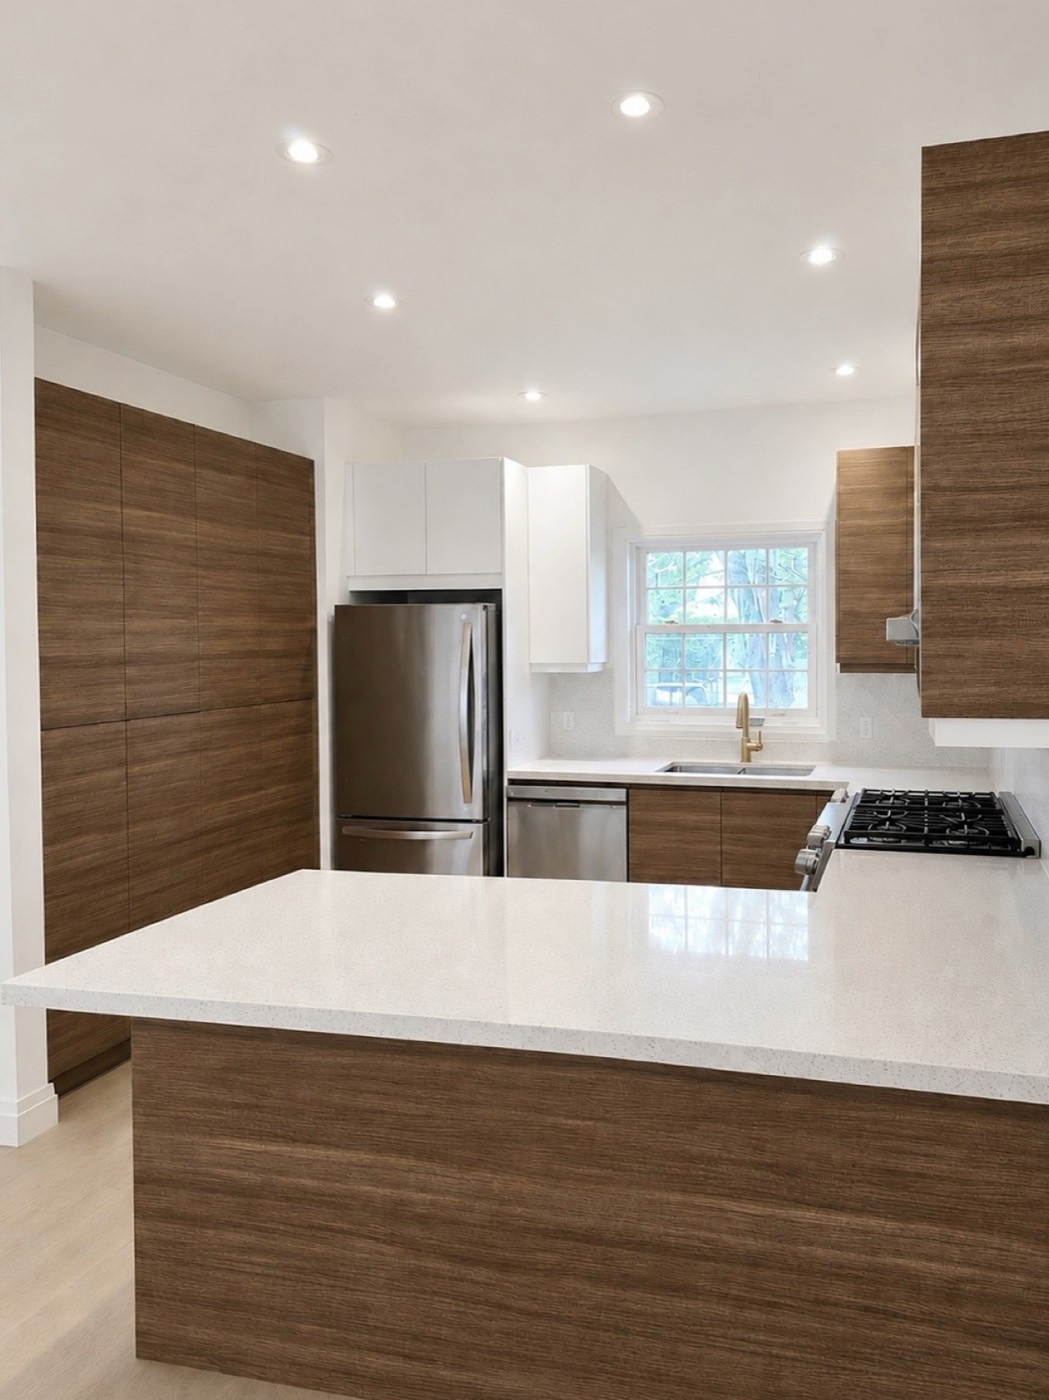
A peninsula is an island attached at one end to a wall or a run of cabinets. Because it only needs clearance on three sides, it fits rooms where a freestanding island would leave the aisles too narrow, and it can still seat two or three people. In many semis and condos, it delivers most of what you wanted from an island.
| Factor | Island | Peninsula |
|---|---|---|
| Space needed | Clearance on all four sides | Clearance on three sides; fits narrower rooms |
| Traffic flow | Can be walked around from either end | One way in and out; can create a dead end |
| Seating | One or more sides | Usually one side or the end |
| Plumbing and power | Routed through the floor | Often easier to feed from the attached wall |
| Corner storage | No blind corners | Creates a corner that needs a storage solution |
| Best for | Open-plan main floors and larger rooms | Condos, narrower rooms and L-shaped layouts |
Custom island or off-the-shelf?
Ready-made islands come in fixed sizes, yet an island is the one cabinet seen from every side. A custom island is built to the exact length and depth your clearances allow, with finished backs and ends, scribed to your floor, and cut-outs placed where the trades need them. Because we design, mill, finish and assemble our cabinetry in our own shop and install it with the same team, the island and the rest of the kitchen are built as one project. Stone tops come from trusted fabrication partners and are coordinated as part of the job.
On cost, a simple storage island costs less than one with a sink, cooktop, built-in appliances or a waterfall top, and the plumbing, venting and electrical work behind it adds to the budget. Every project is measured and priced individually; our GTA kitchen cost guide explains typical ranges for custom cabinetry, and our custom kitchen cabinets in Toronto page shows what we build locally.
The bottom line
A good island starts with clearances: about 42 in on the working side, 48 in for two cooks, 36 in on walkways, a 12–15 in seating overhang and about 24 in per stool. Get those right, decide early on sinks, cooktops and power, and the style can be whatever suits your home. If you are planning a kitchen island anywhere in Toronto or the GTA, explore our custom kitchens service or book a free in-home consultation, and we will measure the room and show you what fits.
Sources & further reading
- National Kitchen & Bath Association (NKBA)
- Electrical Safety Authority (Ontario)
- Technical Standards and Safety Authority (TSSA)
Rules and requirements change; always confirm the specifics for your project with your municipality and licensed trades.
Related pages
Thinking about a project?
Let’s turn the idea into cabinetry.
Book a free consultation and we’ll talk through what’s possible for your space across the GTA.